Proper wheelchair transfer techniques aren't just about moving someone from point A to point B. It's a skilled process that, when done right, minimizes the risk of injury for everyone involved—both the person in the chair and the caregiver assisting them.
The Foundations of a Safe Transfer
A successful transfer is so much more than brute strength. It's a delicate dance built on safety, preparation, and trust. Getting these core principles right transforms a potentially risky task into a confident, manageable part of the daily routine.
Think of it like building a house. You wouldn't dream of putting up walls without a solid foundation. In the same way, you should never attempt a transfer without first making sure the groundwork is secure. This all starts long before anyone even thinks about moving.
Prepare the Environment and Equipment
Your first step, always, is to look at the space. You need a clear, direct, and unobstructed path between the wheelchair and the destination, whether that's a bed, toilet, or car seat. Get rid of any hazards—throw rugs, clutter, and stray cords are common culprits.
Next, get the equipment ready. The wheelchair needs to be positioned as close as possible to the surface you're transferring to, ideally at a 30 to 45-degree angle. This small adjustment makes a huge difference by minimizing the distance the person has to travel and creating a natural pivot point.
Crucial Safety Check: Always, always, always engage the wheelchair brakes before starting the transfer. Forgetting this is one of the single most common reasons for accidents. Make sure both brake levers are firmly locked to create a stable, unmoving base.
Once the chair is locked, it's time to clear the way for an easier exit. Swing the footrests and leg rests out of the way, or better yet, remove them completely. This opens up the space right in front of the seat, so feet won't get tangled and can be placed flat on the floor for solid support.
Pre-Transfer Safety Checklist
Before every single transfer, run through this quick mental checklist. It’s a simple habit that reinforces safety, builds confidence, and ensures you haven't missed a critical step.
| Principle | Key Action | Why It Matters |
|---|---|---|
| Clear Path | Remove clutter, rugs, and obstacles. | Prevents trips and falls during the move. |
| Secure Equipment | Lock wheelchair brakes firmly. | Creates a stable base and prevents the chair from slipping. |
| Optimal Positioning | Angle the chair 30-45 degrees to the surface. | Minimizes transfer distance and enables a smoother pivot. |
| Clear Exit | Move footrests and leg rests out of the way. | Allows for proper foot placement and prevents entanglement. |
| Open Communication | Explain each step of the plan aloud. | Ensures everyone knows what to expect, reducing anxiety and missteps. |
| Proper Biomechanics | Bend at the knees, keep back straight, hold close. | Protects the caregiver from back strain and injury. |
Using a quick reference like this helps turn a complex process into a simple, repeatable routine, making every transfer safer and more efficient.
The Human Element: Communication and Body Mechanics
With the physical space ready, the focus shifts to the people. Calm, clear communication is non-negotiable. Before you even begin to move, talk through the plan. Make sure the person in the wheelchair knows exactly what's about to happen, step-by-step.
For anyone assisting, proper body mechanics are your best defense against injury. This isn't just a suggestion—it's essential.
- Get a wide stance: Plant your feet shoulder-width apart. This gives you a solid, stable base of support.
- Bend with your knees, not your back: Your legs are powerful muscles. Use them. Keep your back straight to protect your spine from strain.
- Hold the person close: The closer their center of gravity is to yours, the more balance and control you'll both have.
This modern focus on self-sufficiency and independent mobility actually has deep historical roots. The drive for user autonomy inspired one of the earliest mobility aids, the self-propelled wheelchair, invented way back in 1655 by Stephan Farfler, a clockmaker with paraplegia. His design allowed him to move independently, establishing a principle that still guides us today. You can discover more about the historical evolution of self-propelled wheelchairs and their incredible impact on user independence.
Choosing the Right Transfer Equipment
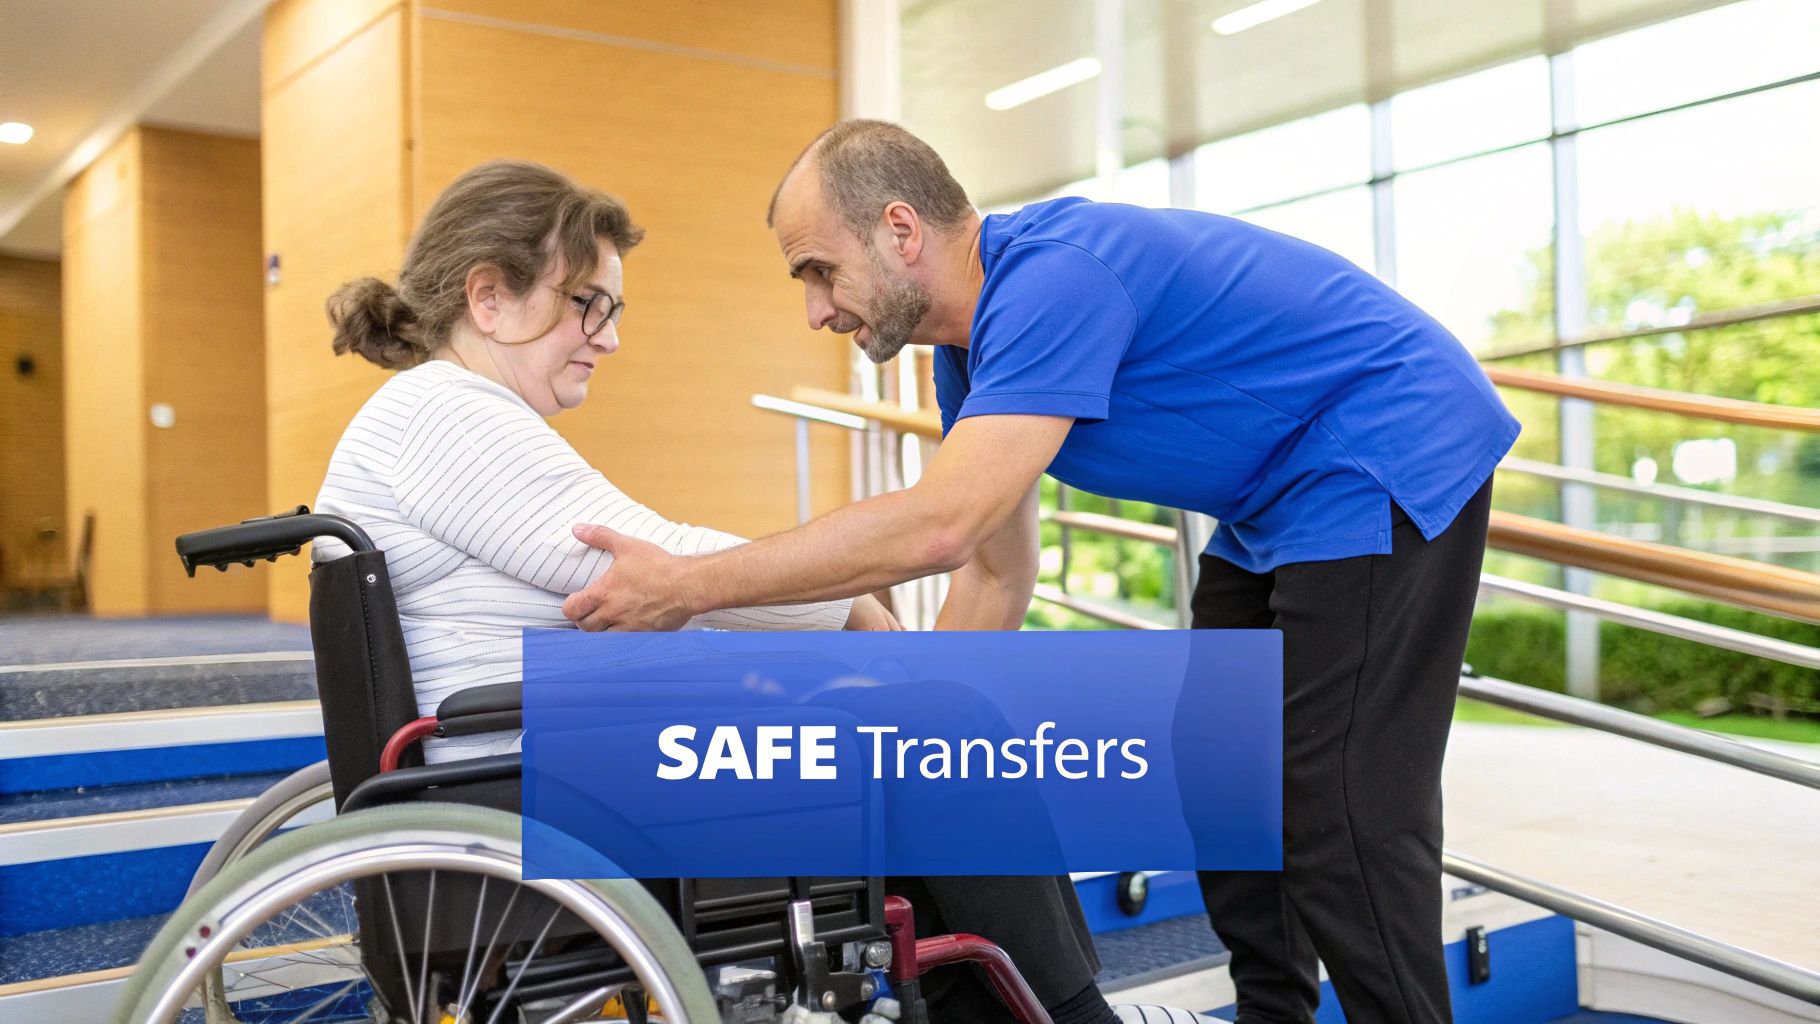
Having the right equipment on hand can completely change the dynamic of a transfer. It’s what turns a challenging, often nerve-wracking maneuver into a secure and smooth process. This is where we move beyond theory and get practical about the tools that make a real difference in safety for both the person in the wheelchair and their caregiver.
Choosing the right device isn’t about just grabbing the most expensive option off the shelf. It’s about thoughtfully matching the tool to the individual’s specific level of mobility and the unique demands of each transfer. This is a true cornerstone of safe, effective care.
Gait Belts for Added Stability
A gait belt is one of the most fundamental—and effective—pieces of equipment you can have. It’s a simple, sturdy belt that you secure around the person's waist, right over their clothing, giving you a safe and secure place to hold on.
This simple tool solves a major problem: it stops the natural instinct to grab a person’s arms or clothes during a transfer. Pulling on someone's limbs is not only uncomfortable but can also lead to joint injuries. The gait belt provides a firm, central point of contact.
- When to use it: A gait belt is perfect for individuals who can bear some of their own weight but just need a bit of help with balance and stability during a pivot transfer.
- How to use it: The belt should be snug, but not uncomfortably tight. A good rule of thumb is that you should be able to slide two fingers between the belt and the person's body. As the caregiver, you’ll grip the belt from underneath, using an upward motion to guide and support—never to lift their full weight.
Sliding Boards for Bridging Gaps
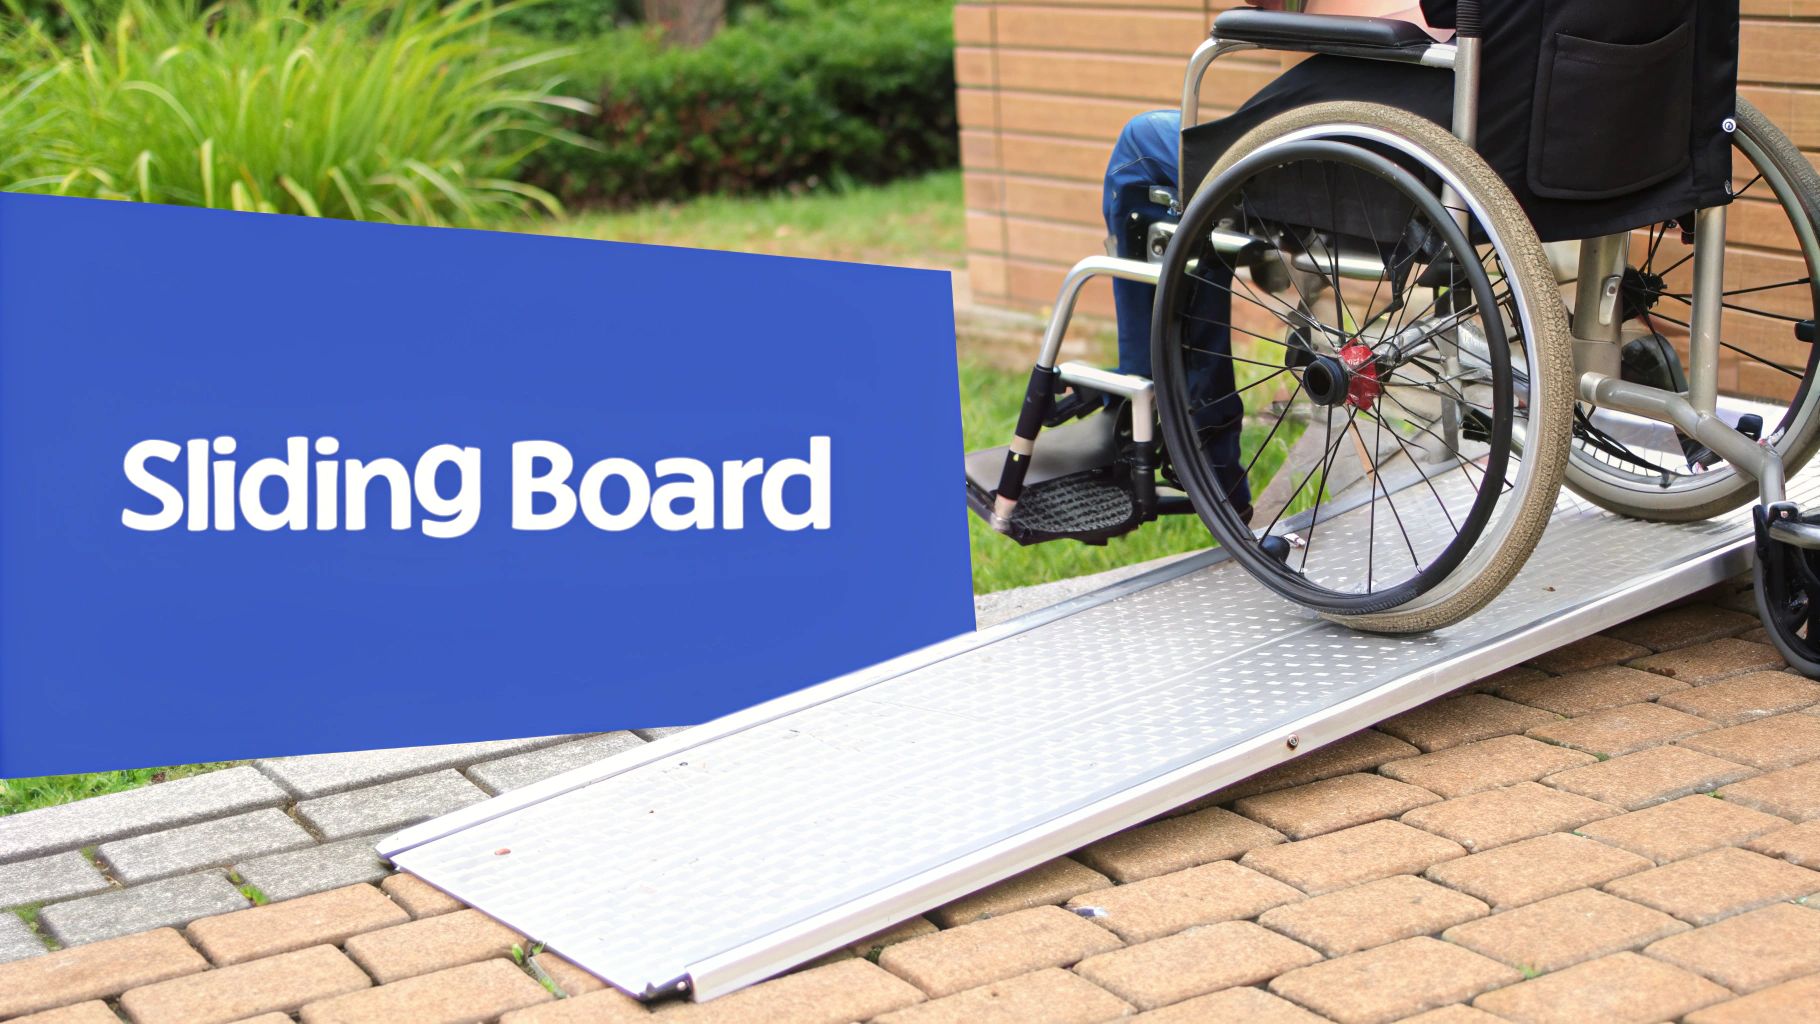
A sliding board, sometimes called a transfer board, is a smooth, rigid board that essentially acts as a bridge between two surfaces. This is an indispensable tool for people who have good upper body strength but can’t stand or bear weight on their legs.
The board allows the person to slide from their wheelchair to another surface, like a bed, car seat, or toilet, using a series of controlled, seated movements.
Key Insight: The success of a sliding board transfer depends almost entirely on proper positioning. The two surfaces should be as close to the same height as possible. If there is a height difference, it is always safer and easier to transfer downhill—from a higher surface to a lower one.
Think about getting into a car, where the seat is often much lower than the wheelchair. The sliding board creates a gentle ramp, which allows for a controlled slide instead of a risky drop.
When to Consider a Mechanical Lift
For situations where a person has very limited or no ability to bear weight or help with the transfer, a mechanical lift is the safest option. These devices, often called Hoyer lifts, use hydraulic or electric power to lift and move a person in a supportive sling.
While they do require some training to use correctly, mechanical lifts all but eliminate the risk of injury from manual lifting for both the user and the caregiver. They are truly the gold standard for ensuring safety in high-assistance scenarios. Our team is here to help you learn more about options for in-home assistance and equipment use for specific care plans.
The evolution of transfer equipment has always been tied to advances in wheelchair design. Throughout the 20th century, key innovations directly shaped modern transfer techniques. The 1932 invention of the cross-frame folding wheelchair made chairs lighter and more stable. Later, the 1979 introduction of ultralightweight rigid-frame chairs gave users far more control, reducing the physical effort needed for transfers. As you can discover more about the history of wheelchair design on Britannica.com, this history shows a constant drive to make wheelchairs and related tasks more manageable.
Executing the Stand-Pivot Transfer
The stand-pivot transfer is a cornerstone technique for caregivers. It's one of the most common and effective ways to help someone move from a wheelchair to another surface, like a bed or toilet. This method is perfect when the person you’re helping can bear some weight on their legs and has enough strength to stand, even just for a moment.
When done right, it’s a smooth, coordinated effort that feels secure and controlled for everyone. Let's walk through the process not as a rigid checklist, but as a fluid motion. Success truly comes down to the details—the angle of the chair, where you both place your feet, and clear communication.
Setting the Stage for Success
Before anyone even thinks about moving, proper positioning is everything. You'll want to angle the wheelchair at about a 30 to 45-degree angle to the surface you're moving to. This small adjustment is huge—it shortens the pivot distance and makes the whole transfer less work. Get the chair as close as you can without the wheels bumping the furniture.
Next, lock both wheelchair brakes. This is the most important safety check and is absolutely non-negotiable. It creates the stable base you need. With the brakes locked, swing the footrests out of the way or take them off completely. This clears the path so the person can place their feet flat on the floor, about shoulder-width apart. Their feet should be tucked back just a bit, almost under their knees, to give them better leverage for standing up.
Your own stance is just as critical. Stand directly in front of the person with your feet wide and stable. Bend at your knees and hips to get down to their level—never bend from your waist. This is how you protect your back from injury. Your feet should "bracket" theirs, and your knees should be positioned to gently block their knees. This simple move prevents their legs from buckling.
Initiating the Movement with Confidence
Once you're both in position, it’s time to talk. A simple "Ready? We'll stand on three. One… two… three…" gets you both moving in sync.
When you're assisting, your hands should be there for support, not to do all the heavy lifting. If you're using a gait belt, grip it with your palms facing up from underneath. This gives you a solid hold on their center of gravity. If there's no belt, ask them to place their hands on your shoulders or arms—never let them grab you around the neck. You can then wrap your hands around their torso, just under their arms, to support their core.
Critical Safety Reminder: Never, ever pull on the person's arms or shoulders. The shoulder joint is incredibly delicate and easy to injure. All your lifting support should come from their torso or a gait belt.
On "three," you'll both lean forward. The person in the chair should push off the armrests if they can, while you guide them up into a standing position. Think "nose over toes." This motion shifts their center of gravity forward, making the stand much easier. The entire lift should be a smooth movement powered by your legs, not your back.
The Pivot and Landing
Once you're both standing, just pause for a second. Make sure you both feel stable and balanced. Now, the pivot. Keeping your own feet planted, you'll both turn together toward the destination. It’s more of a small shuffle than a big step. Your knees will continue to support theirs throughout this brief turn.
You'll know you're in the right spot when the person feels the edge of the bed or chair against the back of their legs. This is their cue. Once they feel it, ask them to reach back for the surface with their hands.
With their hands securely placed, they can start to lower themselves down in a controlled way while you keep supporting their torso. Remind them to bend at their hips and knees. After they're seated safely, help them get comfortable and make sure they're stable.
This infographic gives a great visual of the key actions in a transfer.
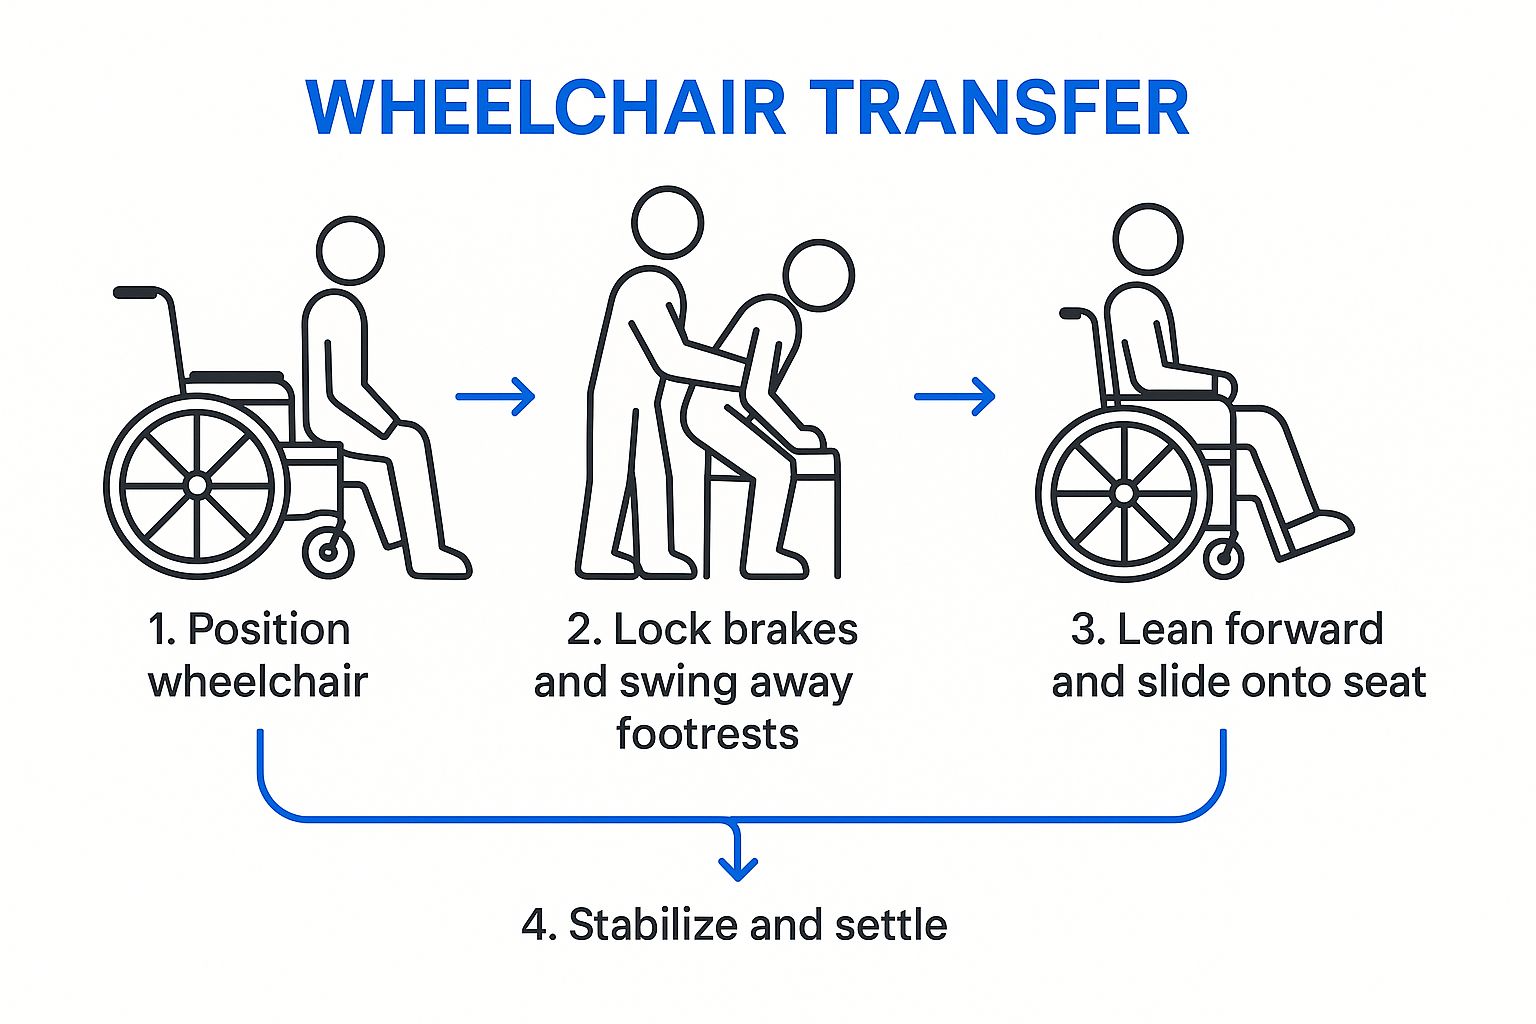
As the visual shows, positioning the chair and securing the equipment are the foundational steps. Getting these right before any movement begins is what ensures a safer process for everyone.
For more hands-on examples and training designed for in-home care, our team offers resources to help families in Mercer County and the surrounding areas master these vital skills. This visual guide on caregiving techniques is another helpful tool to check out. Mastering transfers like the stand-pivot is a skill that builds confidence with practice, making life safer and more independent for everyone involved.
Adapting Transfers for Different Surfaces
Once you’ve mastered a basic stand-pivot transfer, you've hit a major milestone. But real-world situations are rarely as neat as a textbook example. The height of a bed, the tight quarters of a bathroom, and the odd angle of a car seat all throw new challenges into the mix.
True confidence comes from knowing how to adapt. This isn't about memorizing a dozen different methods. It’s about applying the core principles of safety—positioning, leverage, and clear communication—to the unique puzzle each environment presents. A little strategic thinking can turn a tough move into a safe, manageable routine.
Navigating Bed Transfers
The bed is one of the most frequent transfer destinations, but the height difference can be a real hurdle. Whether the mattress is higher or lower than the wheelchair seat completely changes the dynamic.
If the bed is higher, the move demands more lifting power. This is where using momentum safely becomes your best friend.
- The "Nose Over Toes" Boost: Encourage the person to lean forward until their nose is over their toes before standing. This simple shift in weight creates a natural upward momentum, making the lift significantly easier.
- Use the Bed for Support: Once they are standing, guide them to pivot and get their hands firmly on the mattress. They can then use their arms to help push themselves up and settle onto the bed.
On the flip side, moving to a lower bed is generally easier since you have gravity working with you. The key here, however, is control. The goal is a gentle landing, not a sudden drop. You can accomplish this by having the person reach back for the mattress and lower themselves down slowly.
A Note on Bed Height: If you constantly find yourself struggling with bed transfers due to height, it might be time to adjust the bed itself. Simple bed risers can elevate a low bed, while some modern hospital-style beds have adjustable height settings that can be an absolute game-changer.
Conquering Car Transfers
Getting into a vehicle is often one of the trickiest transfers to pull off. You're up against a low seat, a cramped door opening, and an awkward angle. Success here is all about smart positioning and using the car's frame to your advantage.
First, position the wheelchair as close as you can to the passenger seat, facing forward and parallel to the car. Make sure to slide the car seat all the way back to give yourself the most room to work.
- Protect Their Head: The car's door frame is a notorious spot for bumps. Always be mindful of it, gently guiding their head to keep it clear as they pivot.
- Use the Car for Leverage: Encourage the person to reach for stable parts of the car. The dashboard, the back of the seat, or a sturdy grab handle can all provide great anchor points for a controlled descent into the seat.
- The Leg Shuffle: Once they're safely seated, the final step is getting their legs inside. Help them by lifting one leg at a time, pivoting them at the hip to bring their feet into the car.
A sliding board can be a huge help with car transfers, creating a smooth bridge between the wheelchair and the often-lower car seat.
Mastering Toilet Transfers
The bathroom's main challenge is almost always the lack of space. Toilets are frequently tucked into tight corners, which leaves very little room to get the wheelchair into that ideal 45-degree angle.
You might need to position the chair parallel to the toilet instead. This makes a direct side-transfer, often with a sliding board, your best bet. In this situation, grab bars go from being helpful to being absolutely essential safety equipment.
A properly installed grab bar gives the person a secure, stable point to hold onto while they shift their weight. This single piece of equipment dramatically improves both their stability and their independence during the transfer.
Transfer Technique Quick Guide by Surface
Everyday transfers present unique hurdles. This quick guide breaks down the most common challenges and the best ways to approach them safely.
| Surface | Primary Challenge | Recommended Technique/Aid | Key Safety Tip |
|---|---|---|---|
| Bed | Height differences (too high or too low) | Stand-pivot with momentum assist or controlled lowering | Adjust bed height if possible to match the wheelchair. |
| Car | Low seat, narrow door frame, limited space | Sliding board or pivot transfer using car for support | Always be mindful of the door frame to prevent head injuries. |
| Toilet | Confined space, lack of maneuvering room | Side-transfer using a sliding board and grab bars | Ensure grab bars are securely installed into wall studs. |
Ultimately, adapting your transfer technique is a problem-solving skill. By identifying the core challenge of each surface, you can pick the right strategy and tools to make every move as safe and smooth as possible.
Building Skills for Independent Transfers
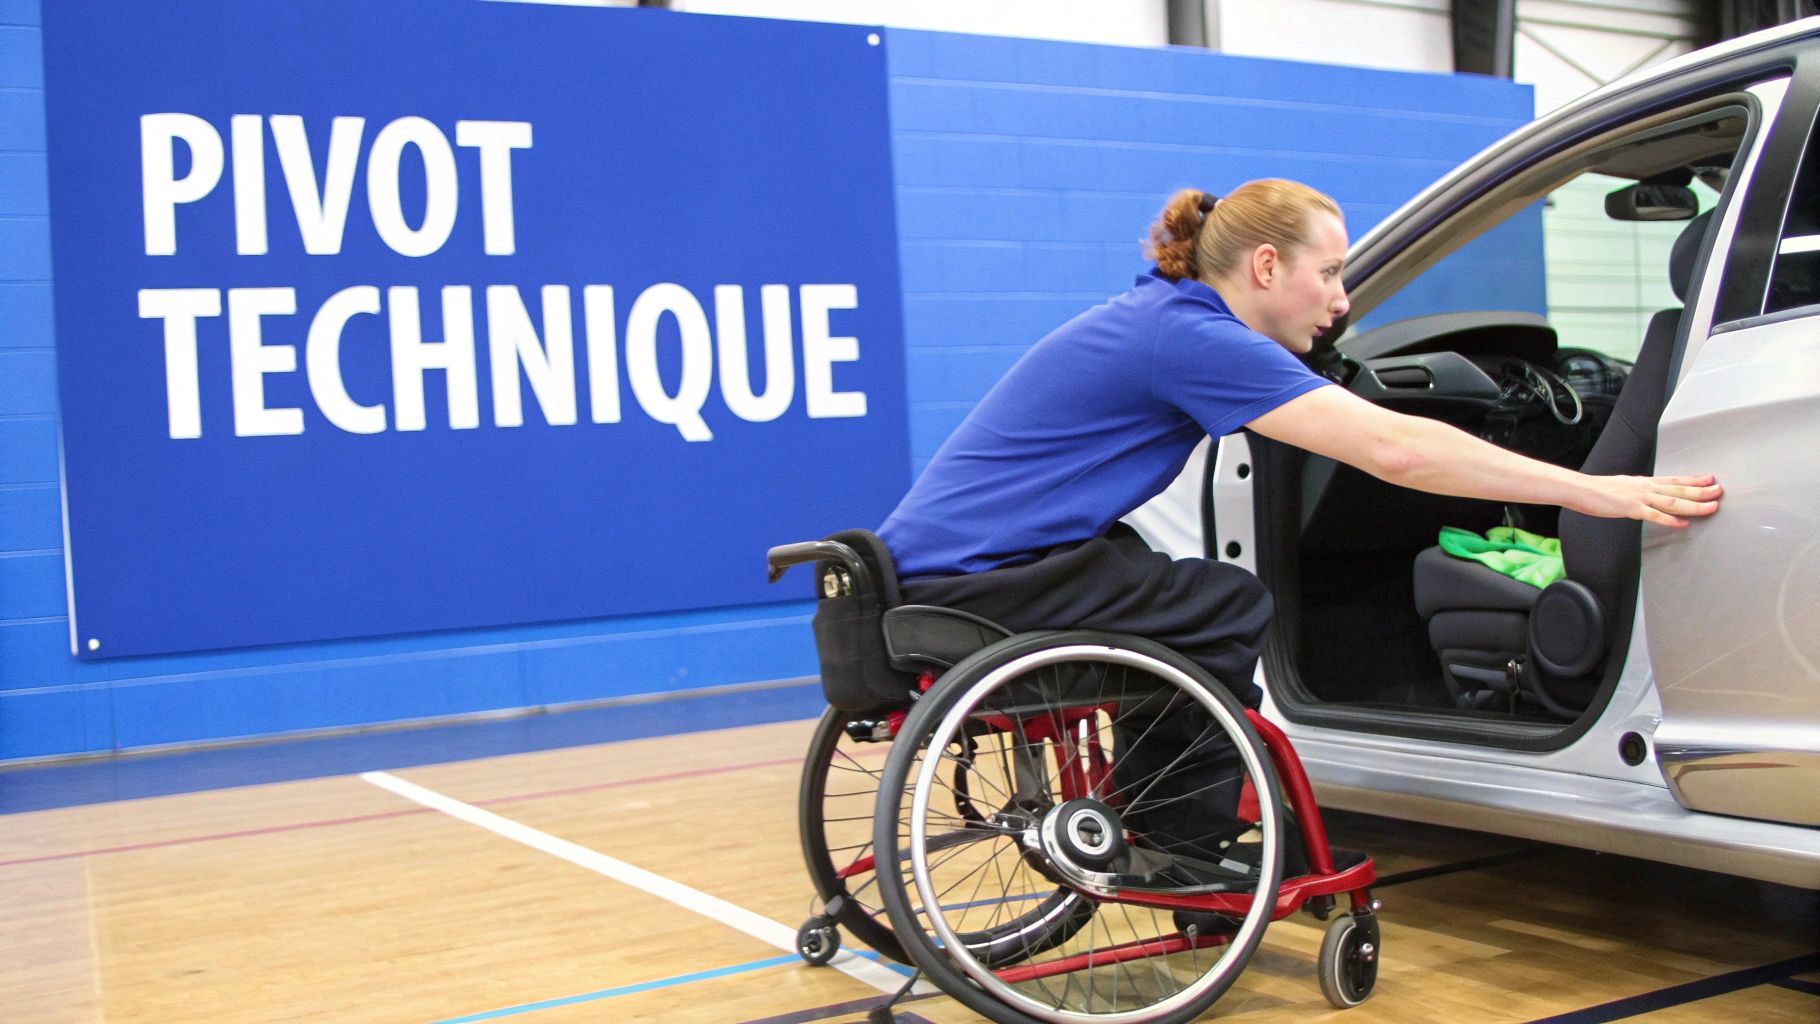
For many people who use a wheelchair, gaining more independence isn't just a small victory; it's a major goal. While having a caregiver's help is often necessary, learning to move on your own terms is incredibly empowering. This means getting the hang of more advanced transfer techniques that rely on your own strength, coordination, and a bit of strategy.
It takes practice and a serious commitment to safety, but greater freedom is absolutely within reach. It all starts with understanding the mechanics of these moves and building the physical strength to pull them off safely. Here, we'll break down two of the most essential skills for independent mobility: the sliding board transfer and the floor-to-chair recovery.
Mastering the Sliding Board Transfer
A sliding board is a simple but brilliant tool. Think of it as a small, sturdy bridge that lets you move between your wheelchair and another surface—like a bed or car seat—without having to stand up. This technique is perfect for anyone with good upper body strength but limited ability to put weight on their legs.
First things first, get your wheelchair as close as you can to where you're going. Angle it just a bit, lock those brakes tight, and pop off the armrest closest to your destination. The goal is to have both surfaces at roughly the same height. If one is a little lower, always transfer "downhill"—it's much easier than trying to push yourself uphill.
Next, tuck one end of the sliding board firmly under your thigh. You want it to cover about a third of the way across the wheelchair seat. The other end should be securely on the surface you're moving to. A word of caution: never place the board completely under both thighs, as this can cause painful skin shearing.
Expert Insight: Before you start to slide, lean your upper body away from the direction you're headed. This simple move lifts some weight off the hip you're moving, making that initial scoot across the board much smoother.
With one hand on the board and the other on your chair, you'll perform a series of small "push-ups." Lift and slide your hips along the board in small, controlled movements. The key is to lift, not just drag. Keep at it until you are all the way on the new surface, safe and sound.
The Crucial Floor-to-Chair Transfer
Life happens, and sometimes falls happen. Being able to get back into your chair from the floor is a critical life skill. This is one of the tougher independent wheelchair transfer techniques to learn, but it’s also one of the most important. The best method for you will really depend on your upper body strength.
For those with significant upper body strength:
Get yourself on the floor right beside your wheelchair, facing away from it. Place the hand that's closer to the chair on a stable part of the frame, like the seat base. Plant your other hand flat on the floor for support. Then, in one strong, coordinated push, lift your body up and pivot onto the cushion.
For those with moderate upper body strength:
This approach uses a "backwards" method. Sit on the floor with your back right up against the front of the wheelchair's seat cushion. Reach behind you and place both hands firmly on the front edge of the seat. Now, use your arms to push your body up and back, sliding yourself onto the cushion. This requires less of a single explosive lift and is more about steady power.
Building the Necessary Strength
You can't just wake up one day and do these transfers. They're built on a solid foundation of physical readiness. A consistent, targeted exercise routine is non-negotiable if you want to perform these moves safely and cut down on the risk of injury.
- Core Strength: A strong core is your anchor. It provides the stability you need to stay balanced during a transfer. Think seated crunches and trunk twists.
- Upper Body Power: Your arms and shoulders are going to do the bulk of the work. Focus on strengthening your triceps, shoulders, and chest with exercises like chair push-ups, dips off the edge of your seat, and resistance band workouts.
- Coordination and Practice: Repetition is what builds muscle memory. Practice these moves in a safe, controlled setting—maybe with someone spotting you at first. This not only refines your technique but also builds tremendous confidence.
For those looking for more structured guidance, our team offers support in developing care plans that promote independence. Our visual aid on caregiving techniques can be a helpful resource to get started.
By putting in the time to build both your skills and your strength, you can open up a whole new level of personal freedom and navigate your world with more confidence than ever before.
Your Questions on Transfers Answered
When you're first getting the hang of wheelchair transfers, it's completely normal for a lot of questions to come up. What you learn in a guide is one thing, but applying it in a real-life situation often brings up those little "what if" moments and practical hurdles.
This is where we tackle the most common concerns we hear from families. Think of this as your go-to troubleshooter, designed to clear up confusion and help you handle every transfer with confidence and safety.
How Do I Prevent My Loved One from Slipping?
The fear of a loved one slipping during a transfer is very real, but thankfully, it’s almost always preventable with the right technique and setup. The biggest culprit? Improper foot placement.
You have to make sure their feet are flat on the floor, about shoulder-width apart. They should also be tucked back just a bit, almost directly under their knees, to create a solid base of support.
Also, never underestimate the importance of non-slip footwear. Socks, bare feet, or slippers with smooth soles are a recipe for a slip. Sturdy shoes or those hospital-style non-slip socks give you the grip you need for a secure move.
Important Takeaway: A gait belt is your single best tool to prevent slips. It gives you a secure, central point of control around their torso. This lets you guide their movement and stabilize their core, stopping those sudden sways or slides before they can turn into a fall.
What if There Is a Big Height Difference?
Navigating a transfer between two surfaces with different heights is a challenge you'll face all the time—from a low car seat to a high mattress. The secret is to work with gravity, not fight against it.
- Going Downhill: Moving from a higher spot (like the wheelchair) to a lower one (like a toilet) is usually the easier direction. The keyword here is control. Your job is to guide them as they slowly lower themselves, encouraging them to use their arms for support. Never just let them drop into place.
- Going Uphill: Moving to a higher surface takes more strength and momentum. This is where the "nose over toes" principle is absolutely critical. By having them lean far forward before standing, you create the momentum needed to make the lift feel much lighter and more manageable.
If you're constantly dealing with a bed that's too high or low, simple fixes like bed risers or investing in an adjustable bed can make a world of difference by leveling the playing field.
What if They Get Scared or Resist the Transfer?
When someone gets anxious or resists a transfer, it almost always comes from a fear of falling. The best approach is to be a source of calm, clear communication and to build a routine that they can trust.
Talk them through every single step before you even start moving. Let them know the plan and use a countdown: "Okay, on the count of three, we're going to stand. Ready? One… two… three." This synchronization takes the surprise out of it and helps them feel more in control of the process.
If they still seem anxious, just pause. Take a breath. Reassure them and do a quick safety check together. Point out that the brakes are locked and the path is clear. Sometimes, simply acknowledging their fear and taking that extra moment is all it takes. Over time, as you complete more and more successful transfers, their confidence will build right alongside yours.
At NJ Caregiving, we understand that mastering wheelchair transfer techniques is vital for safe and independent living. Our compassionate, skilled caregivers are trained to assist with these and other daily activities, serving families in Princeton, Hamilton, and throughout Mercer County. If you need support, contact NJ Caregiving today to learn how we can help.

